Pages

Showing posts with label diy. Show all posts

Tuesday, January 22, 2013

Book Quotes

Have you ever read a line in a book that you had to re-read? Not because you couldn't understand it, but because it was so beautiful? Sometimes this happens to me, but currently I am reading  Les Misérables, and I find myself doing this all the time. So, I've started a notes (one of those yellow notepad things) on my iPhone to write them down and remember them. Here's just a few: 

"M. Gillenormand...was one of those men who have become curiosities, simply because they have lived a long time; and who are strange, because formerly they were like everybody else, and now they are no longer like anybody else" 

"What a spectacle is night! We hear dull sounds, not knowing whence they come; we see Jupiter, twelve hundred times larger than earth, glistening like an ember, the welkin is black, the stars sparkle, it is terror-inspiring" 

"The soul helps the body, and at certain moments uplifts it. It is the only bird which sustains its cage."  

"Even the darkest night will end and the sun will rise" 


I think it would be so great to do something with quotes like these... maybe some thing like:


Of course some of my most favorite quotes come from Pride and Prejudice: 


Friday, August 19, 2011

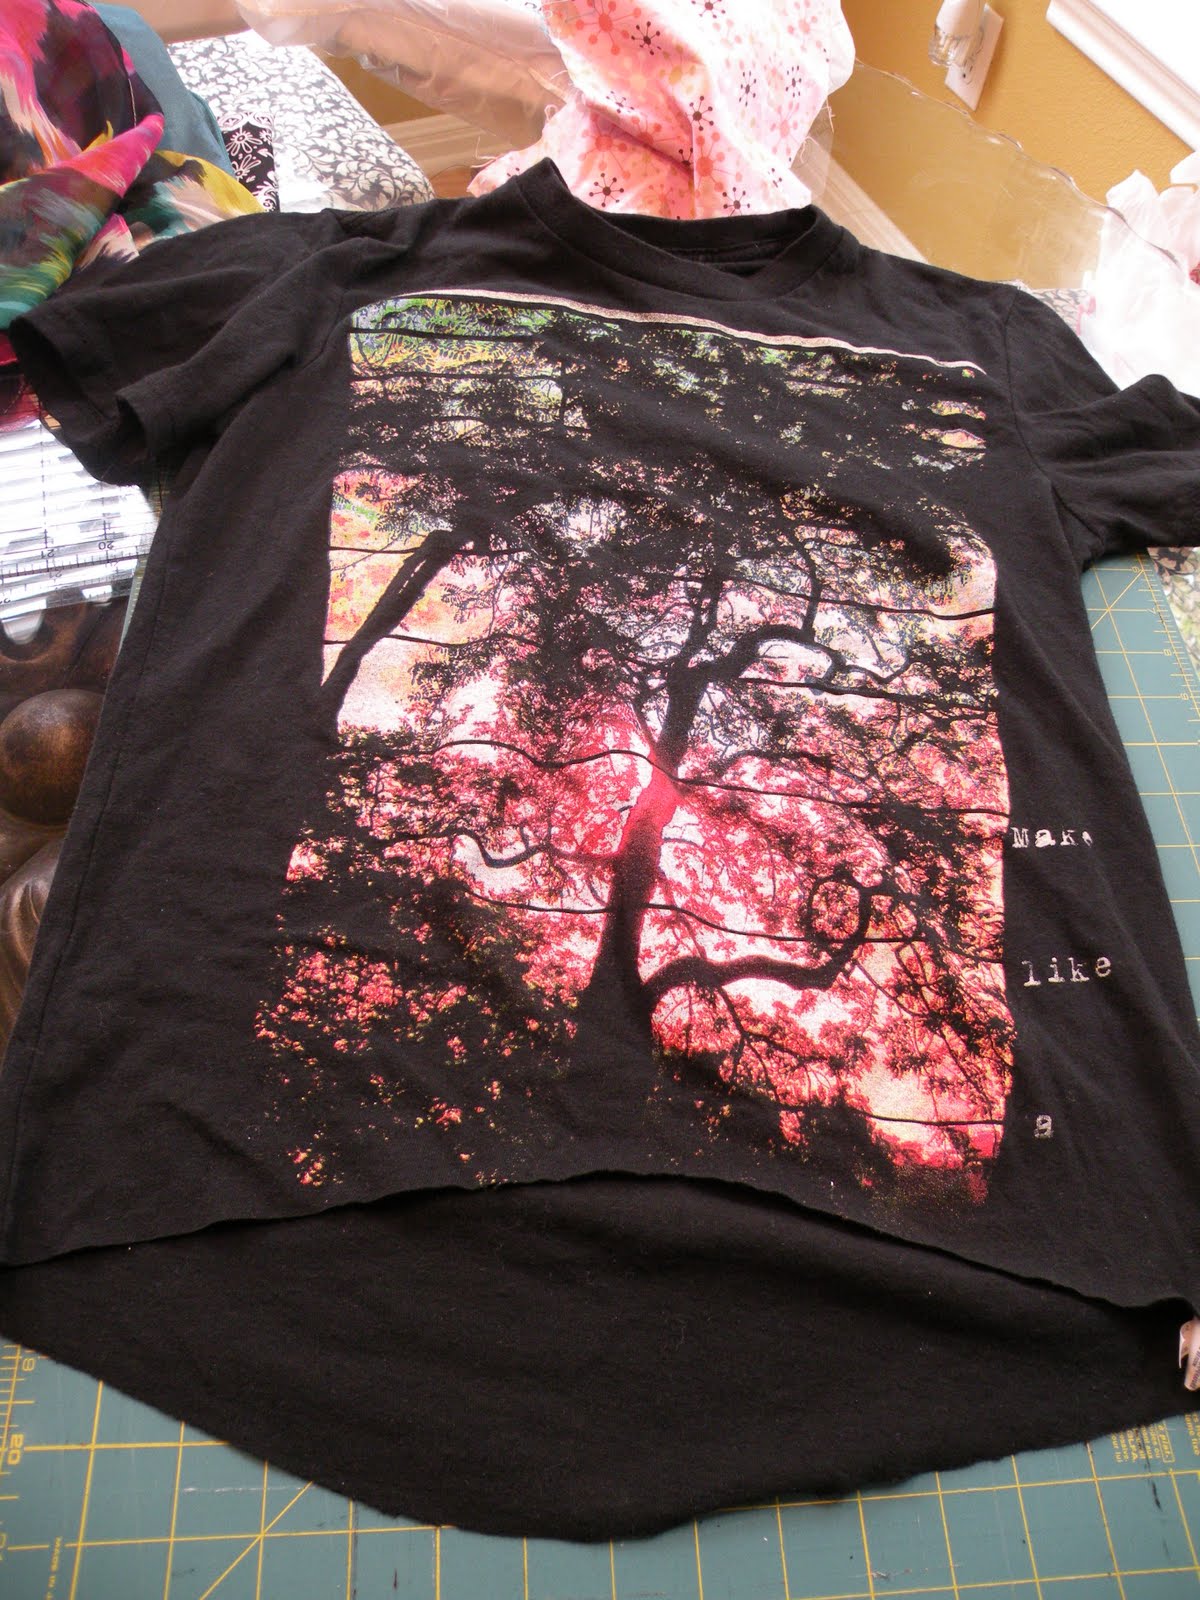
Tree Tee Refashion

My inspiration to mimic:


Using the tutorial from this blog I transformed an American Eagle (guys) tee shirt.

First I tried it on and decided where I wanted the shortest part of the shirt to hit me. Then I approximately added an inch and cut from there.


This is what it looks like after you cut it.


  Then I turned the bottom in and ironed it (measuring the whole time to make sure everything was even)


Then I sewed it with two stitches about 1/8 apart. For my sleeves, I just did a stitch to take it in.


Here it is all finished:


Thursday, August 11, 2011

Geo Box

My latest project was inspired by this etsy artist:
I fell in love with this thing, but since I'm cheap and broke I decided to try my hand at DIYing this cutie. This is what you'll need:

  • stones (I used beads from our vast collection) 
  • scrap paper 
  • ruler
  • white card stock 
  • label maker (you could also print the names out on a computer and cut them out) 
  • scissors
  • pencil
  • super glue 

This picture shows my lovely mother helping me put a piece of scrap paper into the bottom of the box and folding in order to cut the card stock to the right size. This method didn't work so well. Onto plan B!
I measured the back of the shoe box and subtracted 1/2 of an inch from the measurement. My shoe box had a thick border however so your shoe box may not need that much of a difference.
Using those measurements, we cut the scrap paper to size and placed it inside the box. Because this fit perfectly, we cut the card stock to the same size. I just placed my card stock behind the thick edges of my box, but I would suggest gluing the card stock to the bottom of the box if you are using one without thick edges. Once this was completed, I messed around with the stone combinations until I found one that tickled my fancy. Super glue the stones down onto the card stock and then use your handy dandy label maker to make a label for the name of the stone and place it below. This is how mine turned out:
Later on I super glued the bottom edge because one side was higher then the other. Here are some close ups:

I think this project would look even better in a shadowbox- but the shoe box was free and on hand, so I took it. Here's my geo-box in it's natural habitat. (aka my bookshelf/entertainment center) 


Wednesday, August 10, 2011

Out of this World

Lately I've been completely obsessed with space. Perhaps its because I recently took an astronomy class, but most likely it's because I love the contrast of black and cobalt blue that always seems prevalent in space. So, I decided to make a painting based off this photo of a "tarantula nebula": 


Stunning right? Well I decided to flip this image and made this: 


Comparing the two side by side is kind of disappointing, but I'm still so happy with the way it turned out! Also, after seeing this glowing "star jar" on pinterest: 


I decided to make the stars in my painting glow in the dark! I just used a craft store brand t-shirt glow-in-the-dark gel and applied it with a brush over the white dots.